
Everyone could use a little refresher after a long hard winter. Our skin & hair can sometimes suffer with dullness and dryness during periods of cold weather. That's why we came up with some DIYs that will put a spring in your step and make your hair & skin glow!
______________________________________________________________
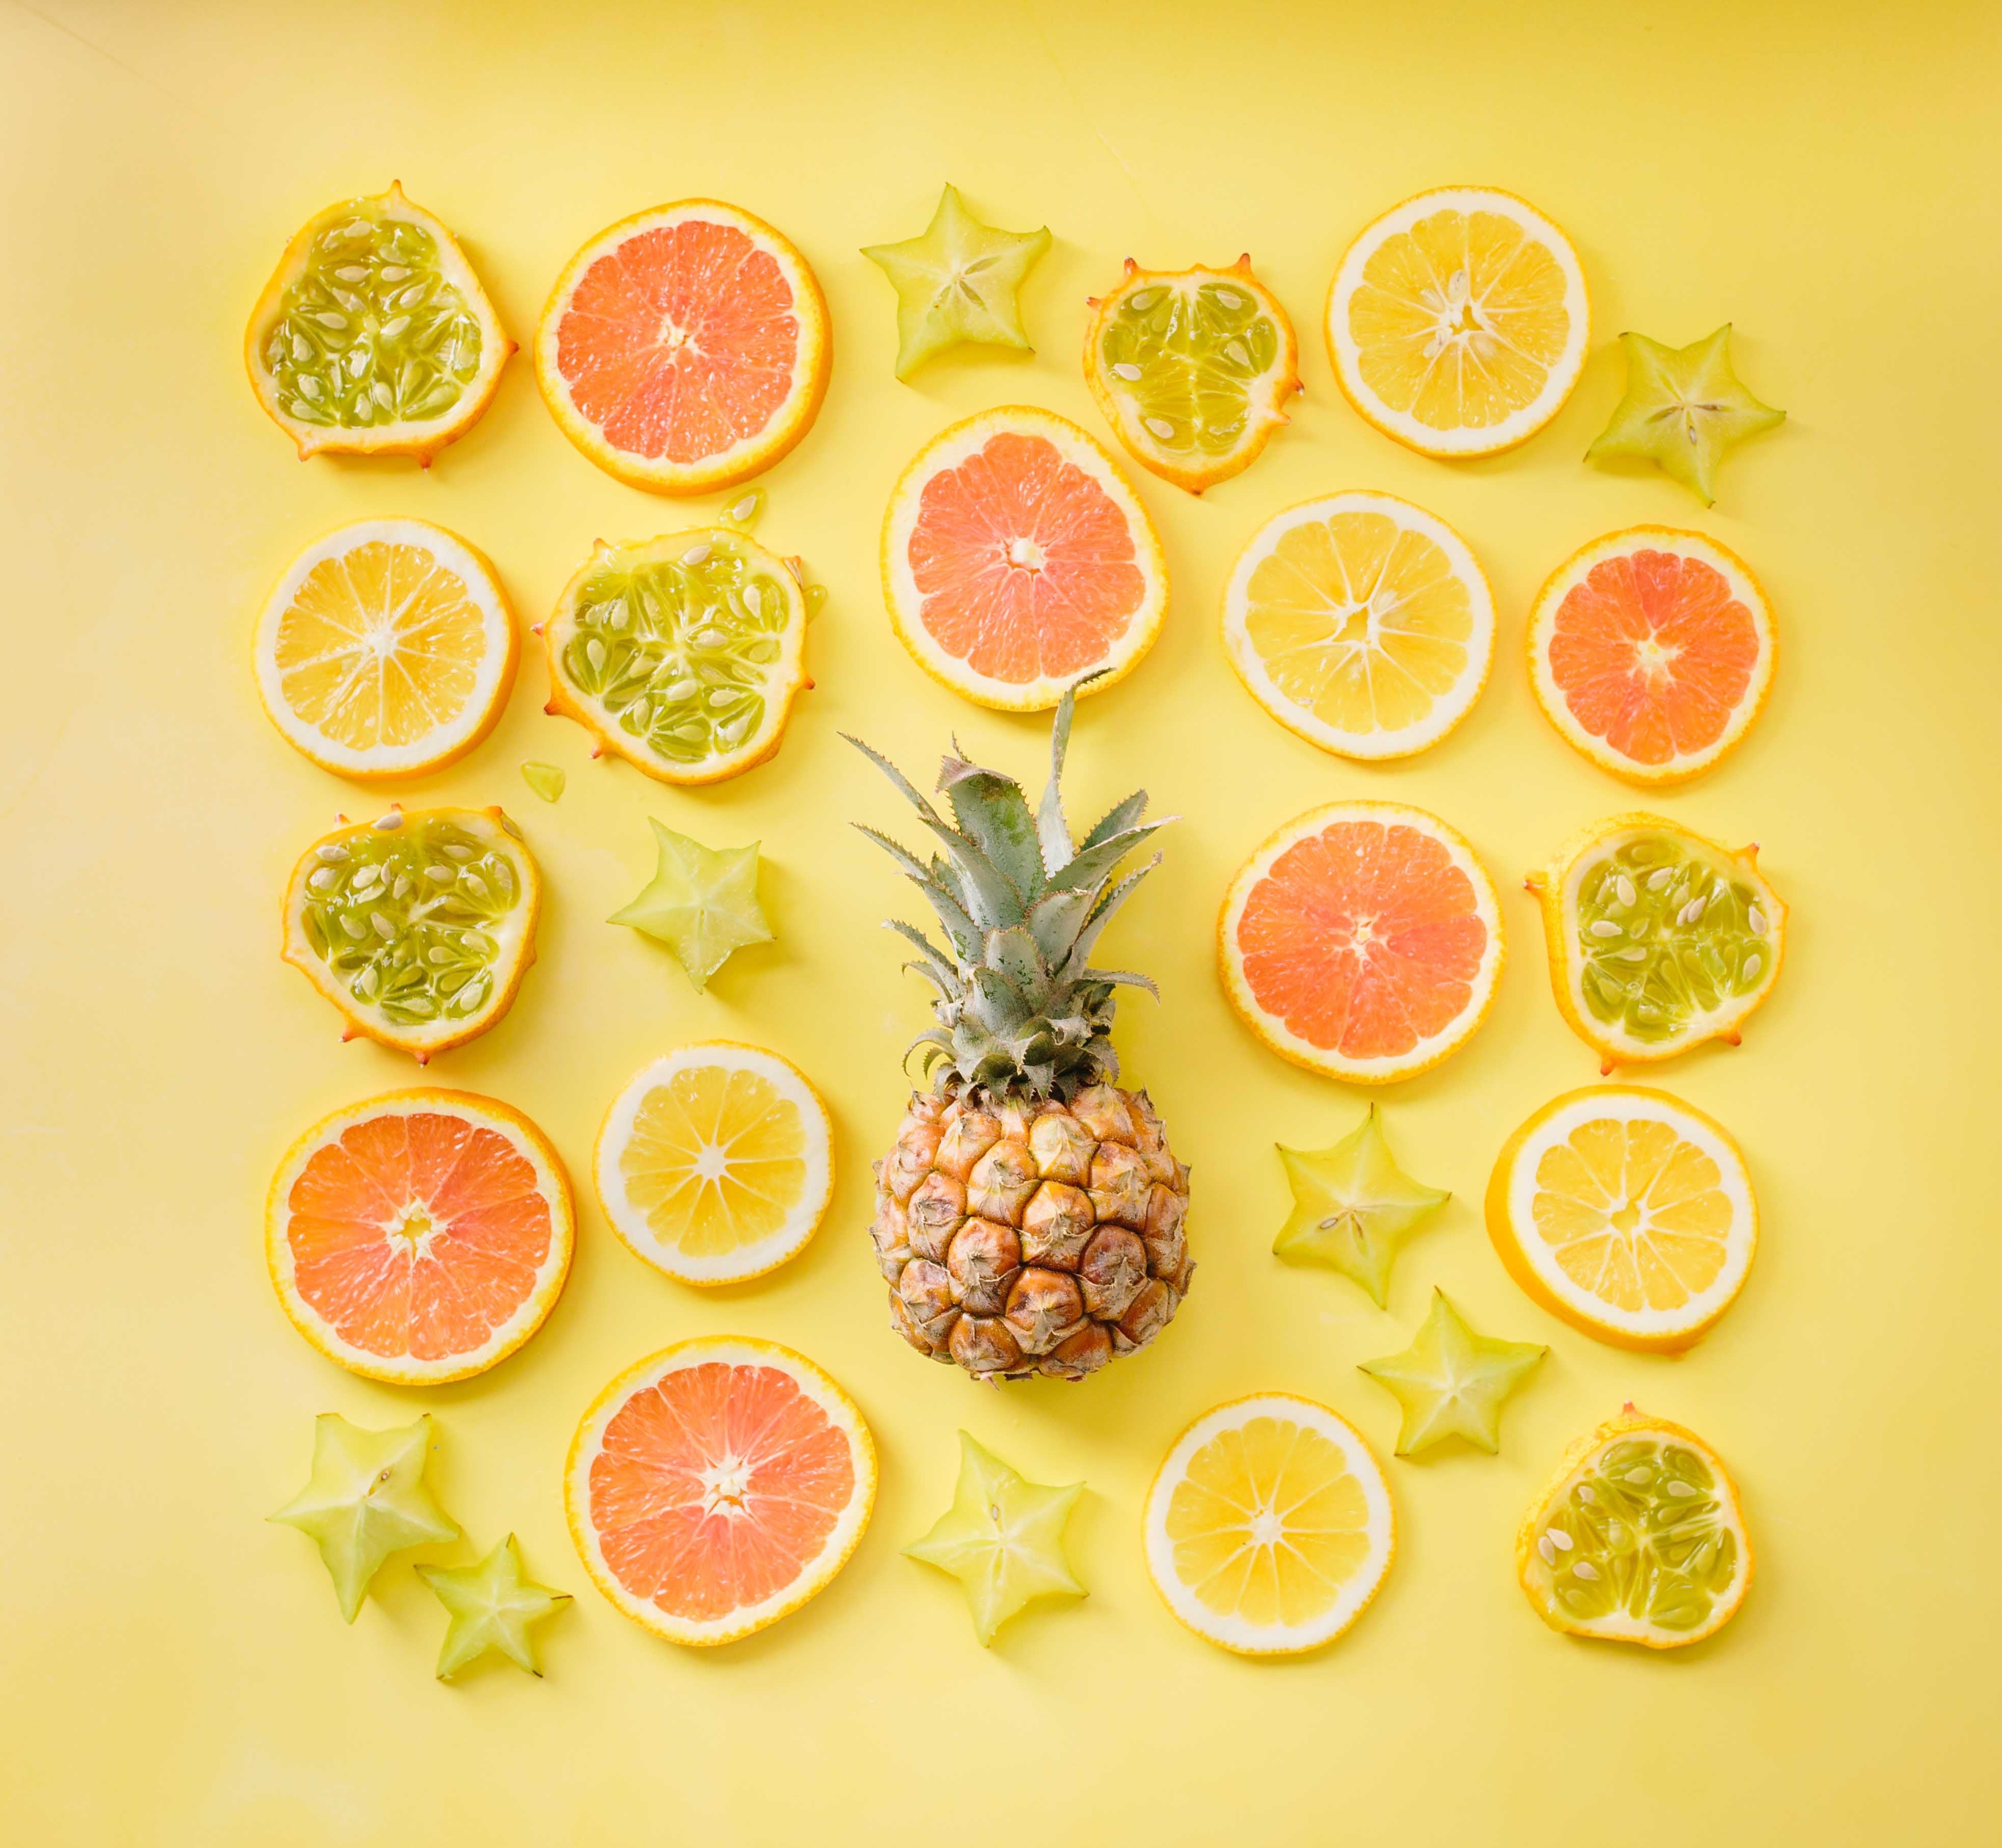
Pineapple Acne Face Mask (from: Beauty Munsta)
*1 Tablespoon pineapple puree
*1/4 teaspoon turmeric powder
*Knife, bowl, spoon
*Facial mask brush (grab one here)
How to Make:
1. Begin by washing your pineapple. Next, chop off a small ¼ section from the bottom and peel the rough skin off.
2. Cut this section into small chunks and blend it in a high speed blender until you remain with a lump-free puree.
3. Place this puree in a small bowl and stir in a pinch of turmeric powder.
4. Voila! Your anti-acne face mask is ready! Wasn’t it easy peasy?
How to Apply:
1. Make sure your face is clean and dry before you apply the face mask.
2. Using your face mask brush, scoop up some of the pineapple turmeric face mask and apply it evenly onto your face. Please avoid sensitive areas and the area around your mouth and eyes.
3. Sit back and relax for 10 minutes as the pineapple face mask does its magic.
4. In case the face mask starts stinging, it’s time to remove the face mask. Using tepid to cold water, rinse off the face mask. Remember to shut your eyes tight to prevent the pineapple face mask from entering your precious eyes! Pat dry with a soft towel and apply a drop or two of coconut oil to moisture.
______________________________________________________________

______________________________________________________________
Self Tanning Bronzer Body Butter
*8 oz jar of your favorite BRC Body Butter
*1-3 Tbs. Cocoa Powder
Directions:
1. Combine the body butter with your desired amount of cocoa powder in a mixing bowl. Stir until fully mixed together. If there are clumps of cocoa not breaking up, try an immersion blender or electric hand mixer.
2. Transfer back to the original container.
3. Apply to skin to have a nice sun kissed spring glow!
Notes:
Let body butter soak into skin before getting dressed. Find the printer friendly version here.
______________________________________________________________
DIY Hyaluronic Acid Serum (Adapted from: Simple Pure Beauty)
Materials:
*2 Tbsp Hydrosol (Rose hydrosol or Lavender hydrosol)
*2 Tbsp Distilled water
*3/16 tsp (1 gram) Dermosoft 1388 Eco Preservative (optional)
*1/2 tsp Vegetable glycerin
*1/8 tsp Xanthan gum
*1/8 tsp Hyaluronic acid
Instructions:
1. Combine your distilled water and Dermosoft 1388 Eco in a glass beaker and mix until incorporated.
2. Add your hydrosol to the water, preservative mixture.
3. Add Glycerin, Xanthan Gum and Hylaluronic Acid to separate small beaker and mix well.
4. Slowly incorporate the Glycerin, Xanthan Gum and Hyaluronic Acid mixture to water beaker, mixing well to incorporate. Set aside to swell.
5. When the blend is clear, test pH and adjust to a skin-friendly pH of around 5. Then, add to desired container (grab one here).
Notes:
Preservative: Dermosoft 1388 Eco requires the pH to be > 7 when adding. That is why we add this to the water phase at the beginning. At the end adjust your pH to around 5 for best results.
Shelf life: If you choose not to add a preservative to the serum the shelf life will be two weeks and must be stored in the refrigerator. If you add a preservative to your serum it can be used for up to three months and stored at room temperature.
Tips: For best results apply to damp skin and follow up with moisturizer of choice.
______________________________________________________________
We hope you find time to try out at least one of these fun DIY recipes. Please let us know if you tried any of these and how you liked them. Also, if you have any suggestions for more DIY recipes, let us know. I think we will be doing more of these types of posts in the coming months.
Thanks!
Robin & the fabulous crew at By Robin Creations Vegan Skin & Body Care


